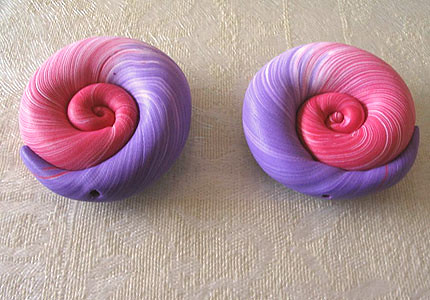
Last week I took the plunge and bought Donna Kato's Millefiori techniques book. Admittedly trying to mimic anything that she does seems rather too ambitious, but her work is an inspiration if unattainable.
The initial part of the book was actually very useful for laying down some basics, such as choosing the right clay, storage etc. (It was useful to learn for example that Fimo is the hardest clay to use, so it makes sense for me to use Fimo Soft just to make the process that little bit easier.)
Surprisingly many of the tutorials in the book seemed achievable, although putting them into practrice may be considerably more difficult! I am yet to find out. Despite this I was drawn to one photograph near the beginning of the book, which had not even been created by the author herself. For some reason this particular piece of jewellery took my interest, so rather than starting to follow one of the tutorials, I decided I would try to recreate some of the beads in the photo.
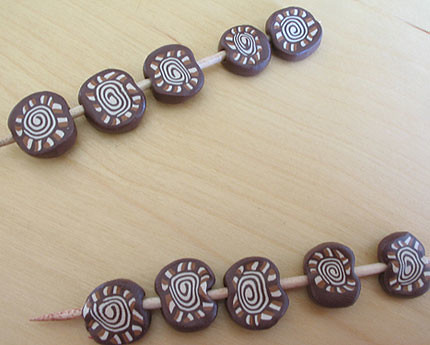
For this I bought three packs of clay, chocolate, caramel and sahara in Fimo Soft. Donna Kato's instructions for creating a jelly roll cane were very helpful and I found this part of the process quite easy. The next step involved following her instructions on creating a stripy border. Again this was a fairly simple process of creating the stack and placing the strips around the outside. Then wrapping a layer of chocolate around the outside of the cane. All well and good so far.
The problems arose when I started slicing the cane and discovered that I was distorting the shape. I took an unused blade and sliced with that, confirming the fact that the blade I had been using was in fact blunt. With the new blade I sliced about 10 slices off the cane with the aim to bake them as flat round beads. Unfortunately I had sliced them too thin because, as you can see from the photo, the cocktail stick distorted the shape as I pierced them through.
I decided not to bake the final beads and have to admit that this minor setback left me feeling somewhat despondent. But from all of this I can say I have learnt something valuable, something which Donna in her book had also commented on. The problem was in the size of the cane to begin with. It was just too small. Far better to create a larger cane and reduce down. This no doubt retains the shape and pattern of the cane when slicing. I have been working on false economy; trying to use less clay in my projects which in fact has just resulted in more waste. My aim is to get back to the basics, roll a suitably sized cane that will retain its shape.